Every summer will be hotter than the last. This is likely due to global climate change and my failing memories. This early summer has already resulted in grumpy teens in their southern rooms. They sit over the garage and one room in particular runs much warmer than everywhere else by about four degrees. The room has an attic access through the closet and a lot of warm air radiates from the attic space. The goal of this project is to cool the room down.
First up was an insulation company. They inspected the quality of our insulation. He was a young guy and though he was more than willing to sell us more insulation, suggested we were actually really well insulated. He even checked out the upper attic space and fixed one piece that had fell down. He was a good person and I made sure to send him off with a twenty for lunch.
Second up was the HVAC company who came out to inspect the system was working properly and quote me on some options. I was expecting maybe an in line duct fan to help pull cooler air towards the room as the vent was about two degrees higher than the vents downstairs. Instead, he quoted me about $3000 for duct sealing and $7500 for a two zone HVAC system which introduces a second thermostat for upstairs and some mechanical baffles that direct air upstairs or down. This was a lot of money to spend for a quote where he didn’t even bother to head upstairs and assess the situation.
Third up was a roofing company. This was a different company than who replaced our roof last year as we were not happy with how they set expectations. I asked specifically for a quote on an active vent in the attic space above the garage. There is already electrical up there and I figured maybe the new roof ridge vents were not as good as the previous venting. Instead, he gave me a quote to redo the ridge vents with their variety instead of the one up there. In addition he didn’t like the way one portion of the roof was done, so quoted me $3200 for everything.
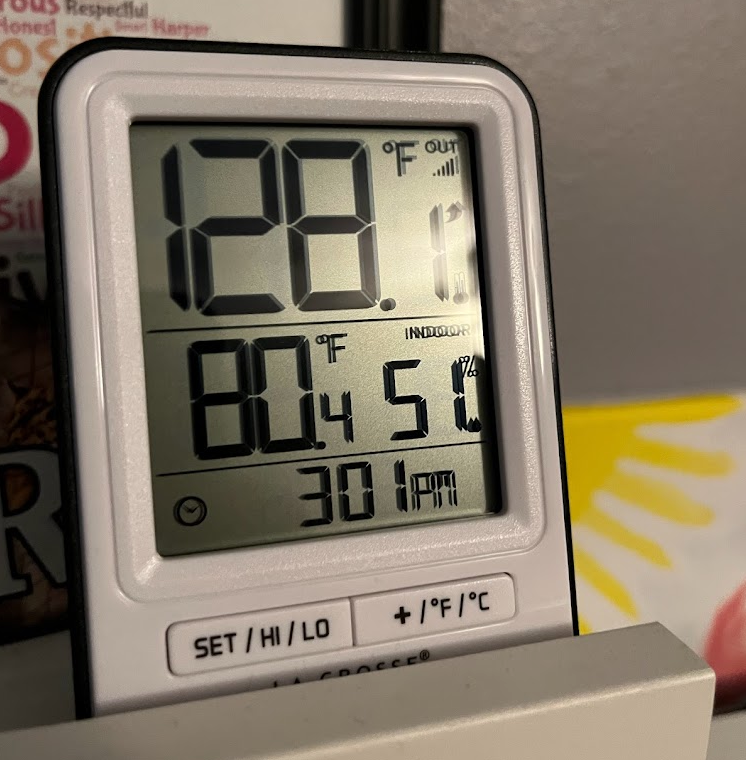
Everyone wanted to sell me on something, but nobody seemed willing to solve my problem. I decided to apply some structure to solving this problem. I purchased a remote sensor to place in the attic space and the hottest room. Over the course of several days, I recorded every few hours a baseline of attic, room, and external temperature and humidity.
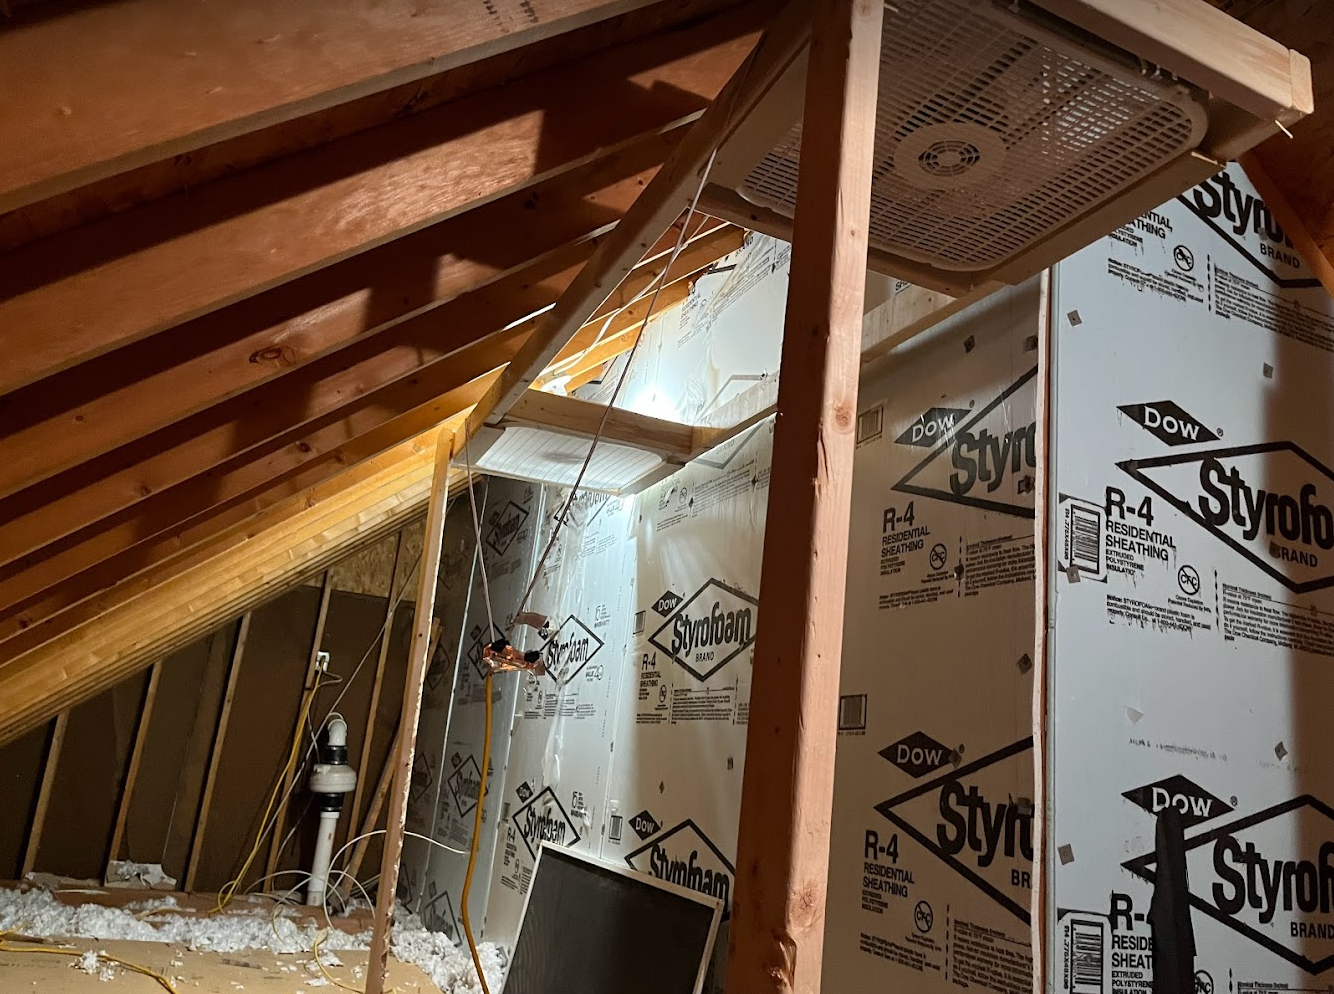
Before any big money was to be spent on this problem, I decided to test my theory that a better attic ventilation system would improve the room temperature. I quickly built a stand to get two box fans propped up near the ridge vents to draw the warm air up and out it the attic space. These were constructed with framing grade 2x4’s. I then repurposed a SmartThings sensor and plug control in the attic space so that the fans would kick on via an automation action I set for 90F degrees. Over two days time, I was able to see the attic temperature drop by about 8-10F degrees and the room temperature dropped by one degree.
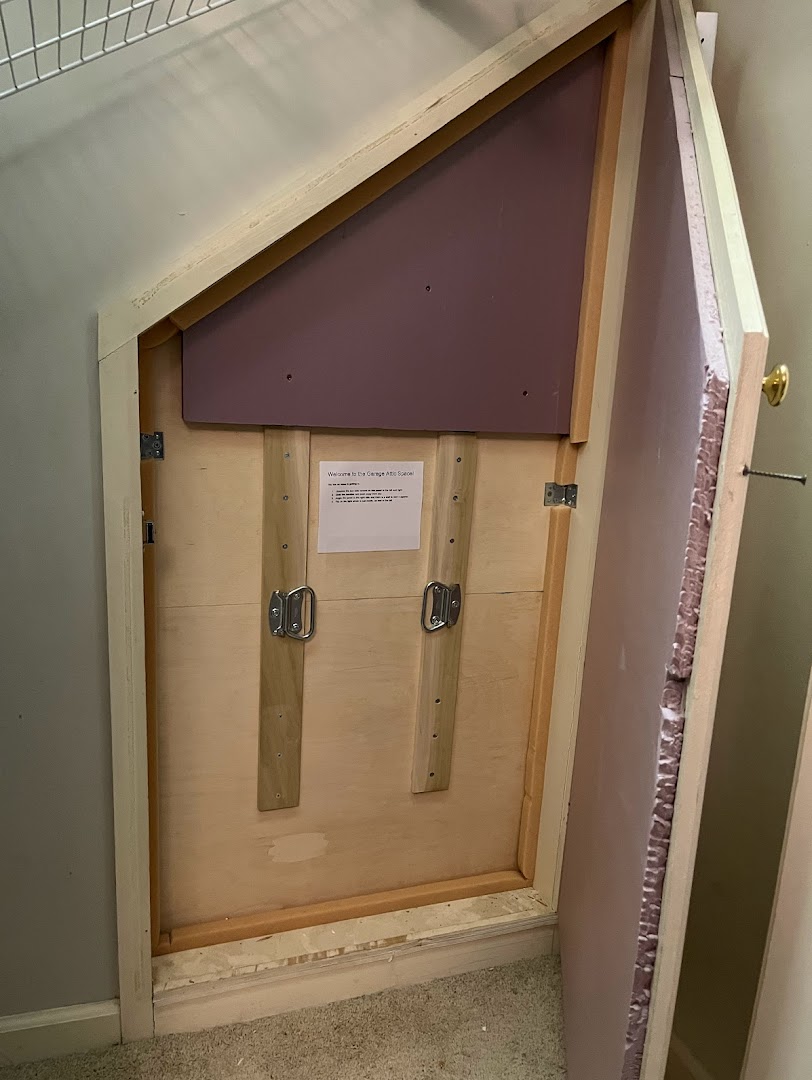
Using an infrared thermometer, I took various readings around the closet and door to the attic space. The worst area was the top of the door which read around 91-92F degrees. Clearly, too much heated air was still coming in through the door. When we moved in, I put a half inch piece of insulation foam behind the door, but this was not nearly enough to do the job. I built a wood panel to plug the door from the inside of the attic space and intended to glue on a full inch foam insulation on the backside. You must use a special type of construction adhesive designed for foam, otherwise you run the risk of the foam collapsing. Unfortunately I measured twice, but still wrote down the wrong top measurement. The panel came out misshapen for the trapezoid hole. This is why the top of the plug has foam attached from the inside. I lined the plug with a one inch insulation tape to seal it as best as I could.
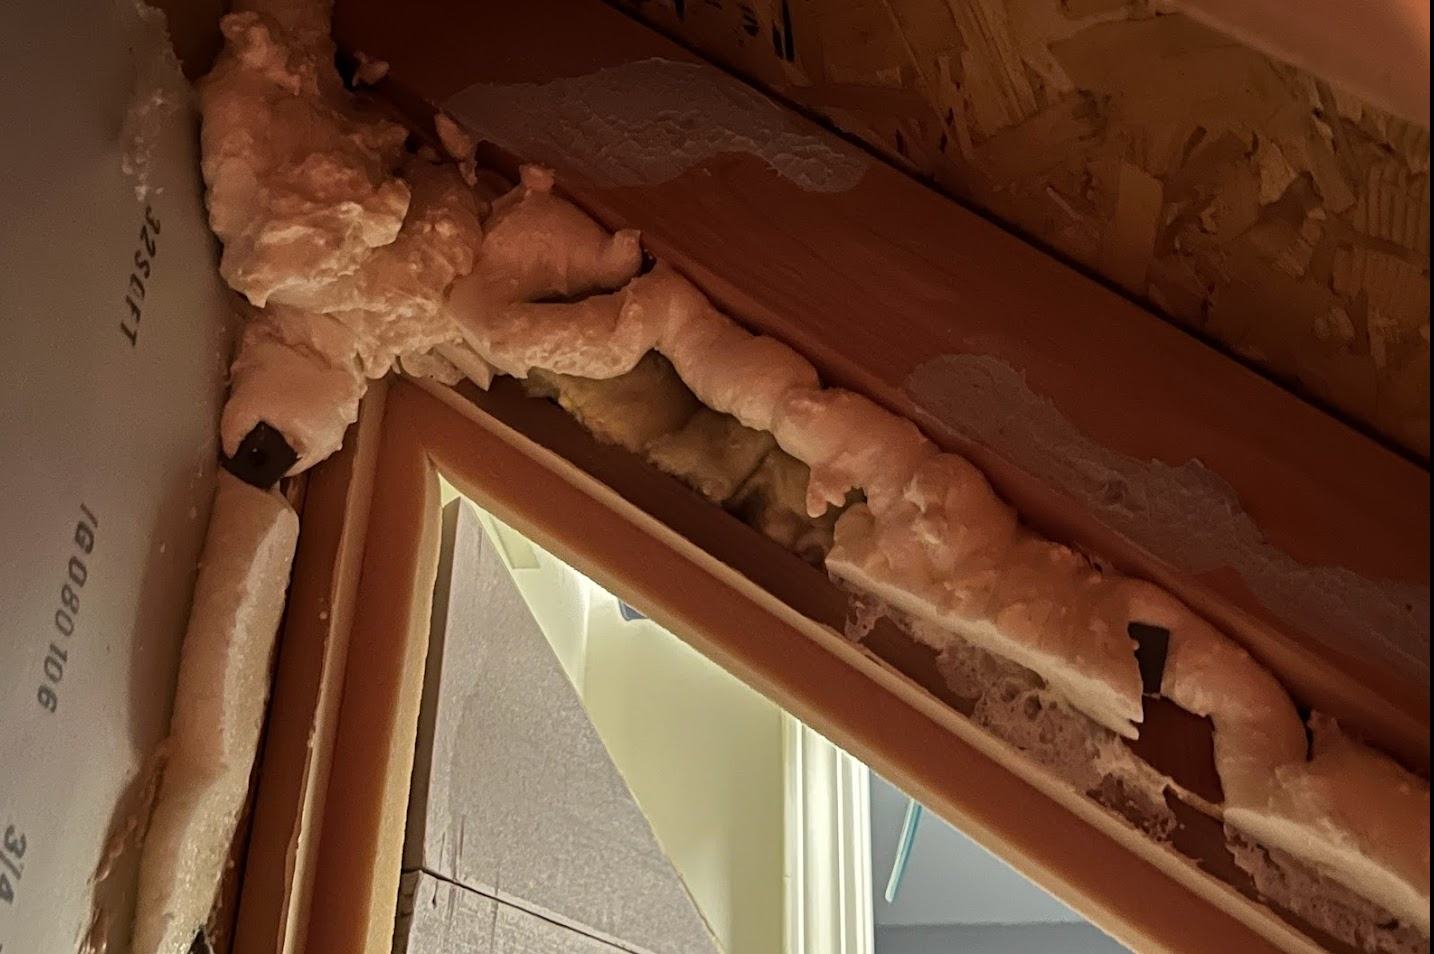
The next step was to use some spray foam to get all of the open space above the door where air was leaking up into the top of the wall of the closet. I added on a few more strips of insulation as well to seal the deal, so to speak. After a few 90F degree days, there was a net improvement of 8-10F degrees cooler in the attic space and attic door.
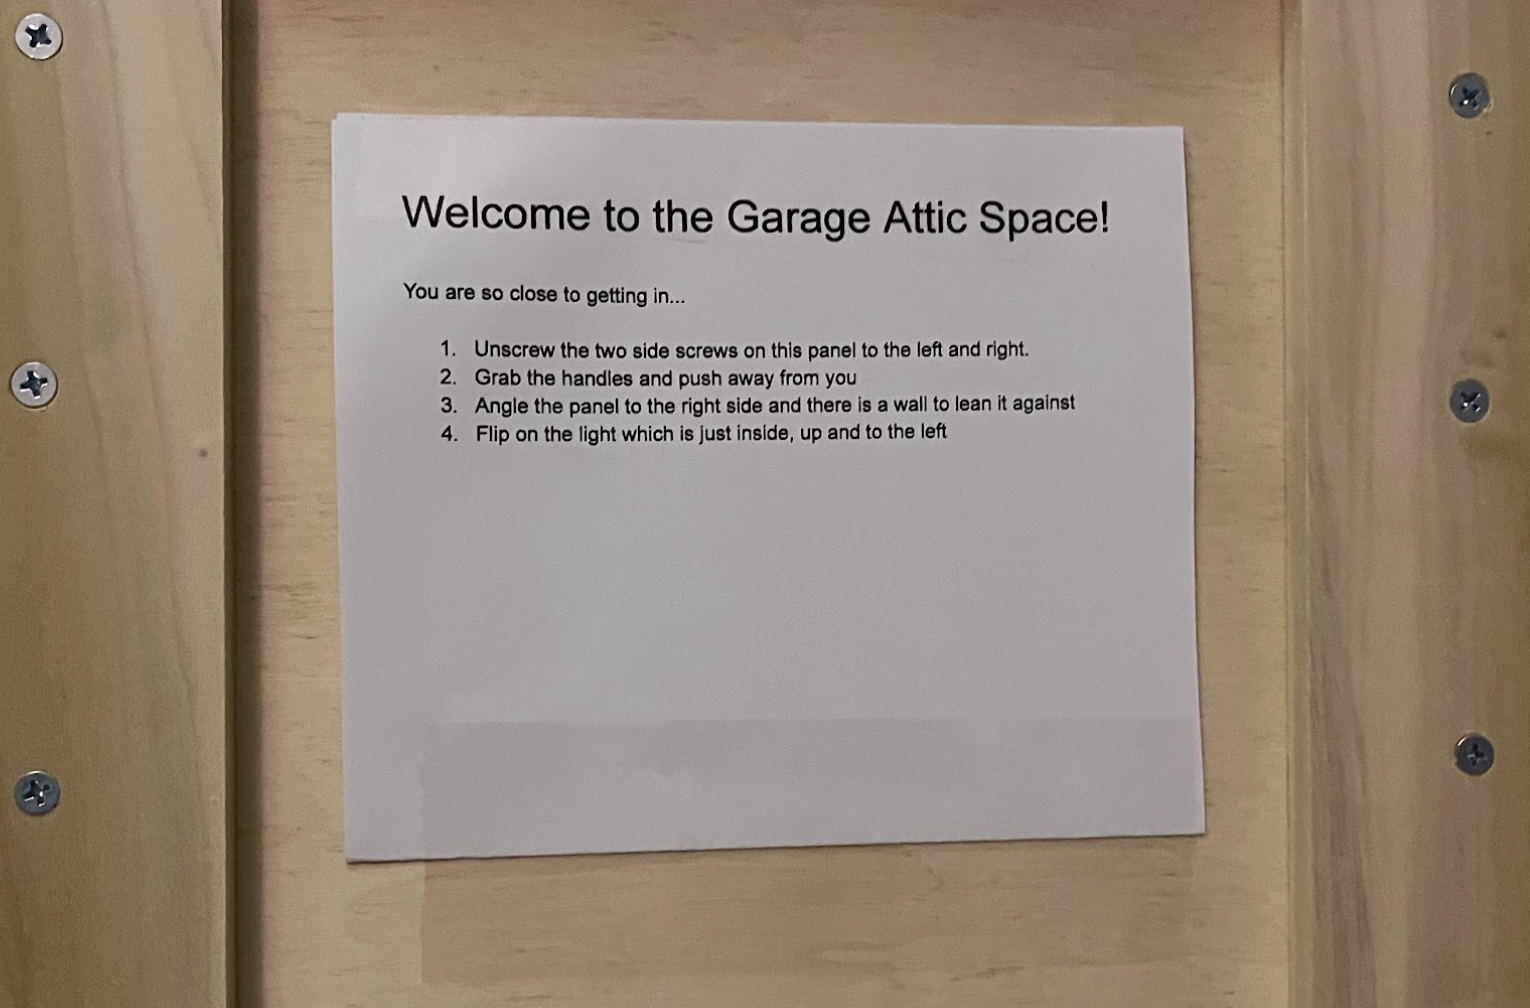
You should always leave things well documented for the next poor soul who comes across your work. So I added some instructions on how to get into the attic space for when I am not around or the house is sold.
Total cost of the project was roughly $96:
- 2’ x 4’ x .5" Hands Panel = 2x $14 = $28
- 2’ x 2’ One Inch Foam Insulation Panel = 4x $7 = $28
- Foam Grade Adhesive = $8
- Can of Spray Foam = $6
- Handles + Brackets = $12
- Insulation Tape = $14