For well over two years, we had some privacy panels sitting in a box in the garage. They kept getting pushed off in favor of other projects or obligations. I did not have any fear around the project, as I do with some and I am keen to keep an eye on what I am fearful of as that always leads to some good self-improvement. This was strictly a priority problem. With my sabbatical, I did not want to use up my entire time for projects but did want to make some additional improvements to the outside space before it got too cold.
Two parts of this project were to expand the outdoor low-voltage lighting and to add the privacy panels on the south facing side of the patio area. The lights required running an electrical line under the sidewalk which meant drilling a one inch hole and then driving in a plastic conduit. I had to purchase a one inch auger bit and several extensions for my hand drill. This worked perfectly to get through the dirt from one side to the other.
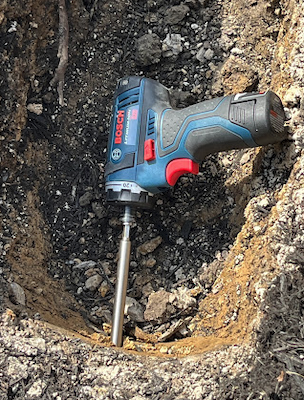
The conduit still required a lot of effort to drive through the hole. I was worried that I had driven the conduit away from the pre-drilled hole, but it collected enough soil and scraped the hole to require a mallet to drive it completely across the sidewalk. I then needed a smaller auger bit to clean out the inside of the conduit.
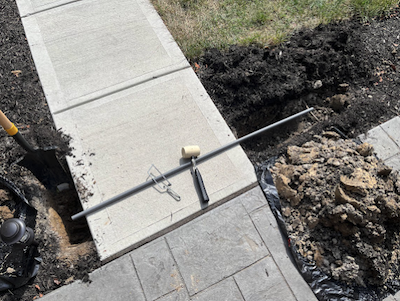
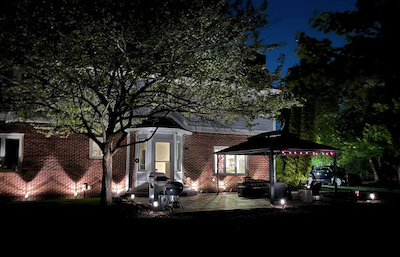
Once I had the conduit, I was able to extend the low-voltage wire around the patio and to the end of the back of the house. I spaced the lighting to be consistent with the other side of the house but did not want to overwhelm the patio with too much light to be a nuisance to the neighbors.
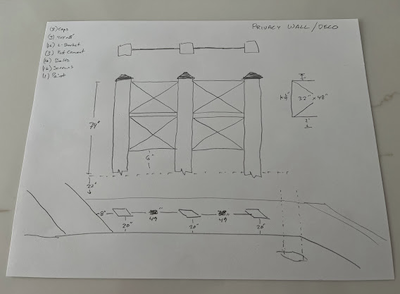
With the lighting complete, I drew up a design for the south facing privacy panels. This took a few revisions, validation from the spouse, and a trip to the hardware store to get right. The result was a second design to capture how this would be built.
I figured the hardest part of this project would be to dig a hole with a post hole digger. To make this easier, I made a bet with myself I could dig the hole in 15 minutes or less. The reality was twenty minutes, but not too far off. The hole needed to be two feet deep and wide enough to accept a 4x4 post and concrete.
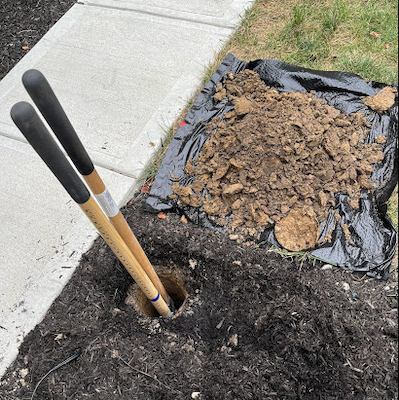
With two bags of post concrete, you essentially pour the dry product around the hole and just add water. It is relatively easy, just wear a mask to avoid inhaling that fine concrete dust into your wet lungs. Once the posts were up, I let the concrete dry for twenty four hours. I then used an oil based enamel paint and gave each post a coat of satin black. I do not know if it was the paint fumes or the ease of using an oil based paint, but the painting filled me with joy. While I had the paint out, I gave our mailbox post a coat as well. I had to wait another twenty four hours for the first coat of paint to set for a second coat. Since I do not have mineral spirits, this meant storing the small roller and brush in a ziplock bag, as one does.
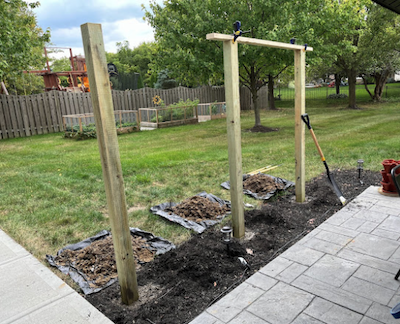
Once the paint had dried, it was time to put the post caps and privacy panels in place. As I was aligning spacing, it became obvious that although my three posts were plum, they were measured six feet from the concrete, and the concrete slopes away from the house. This meant each successive pole was an inch lower than the prior and would not let the panels look good. The solution was to cut the posts to an equal height. I used black L brackets to mount the panels and cleaned up the dirt and mulch.
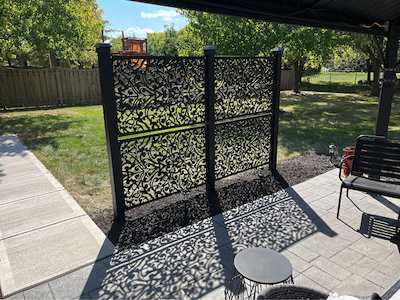
Total cost of the project was $596
- Privacy Panels (purchased two years ago) = $200
- 4x4 8’ Treated Posts = $36
- Concrete Post Mix = $18
- Gravel = $5
- Brackets, Bolts, and Screws = $55
- Black Satin Enamel Paint = $15
- 4x4 Post Caps = $22
- Auger Bits = $15
- Drill Extensions = $36
- Electrical PVC Pipe = $7
- Path Lights = $148
- Low Voltage Cable = $39