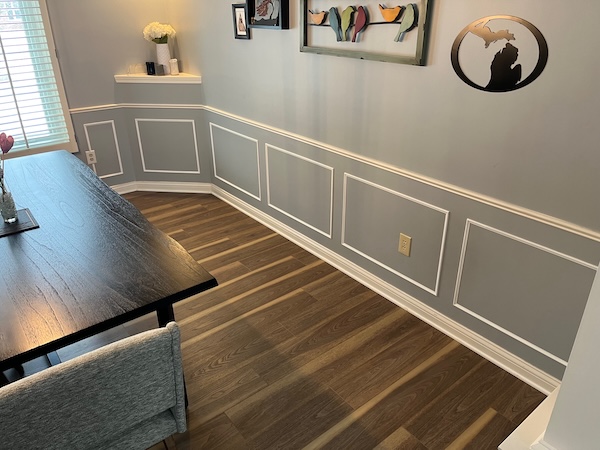
As part of the dining room refresh, we put in a new light and wanted to expanding on the molding features that were already in the room. There is crown molding, chair rail molding, and a coffered ceiling feature.
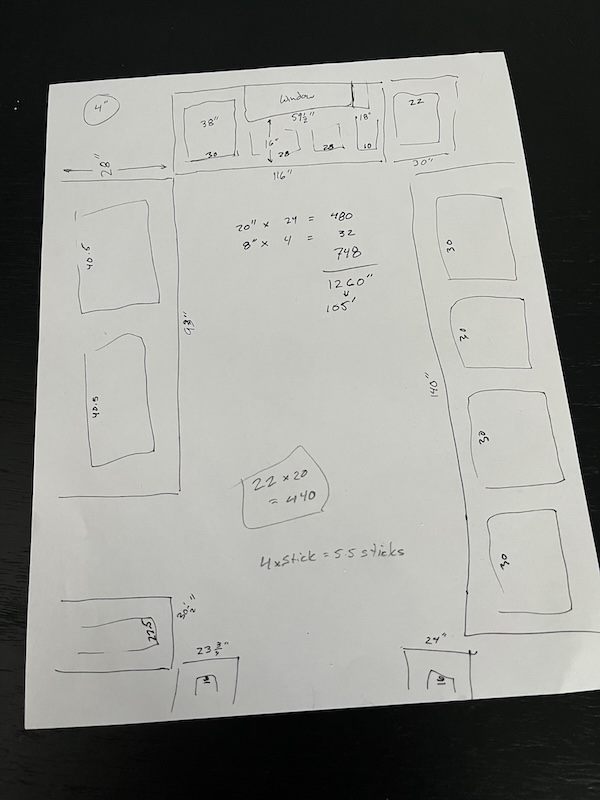
Having a good plan when doing picture frame molding is a must. Each wall is different in this room, so finding a good spacing took some trial and error - which is always easier on paper.
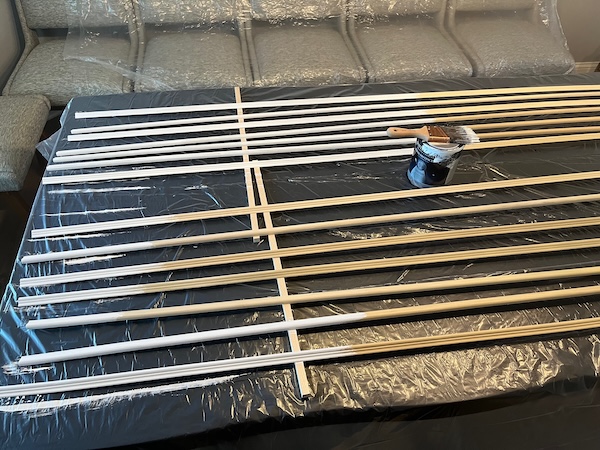
This project started with fourteen trim pieces that had to be painted white. I had some white paint I was able to use. Usually you can get by with two coats of paint. One coat, then a light sand, then a second coat.
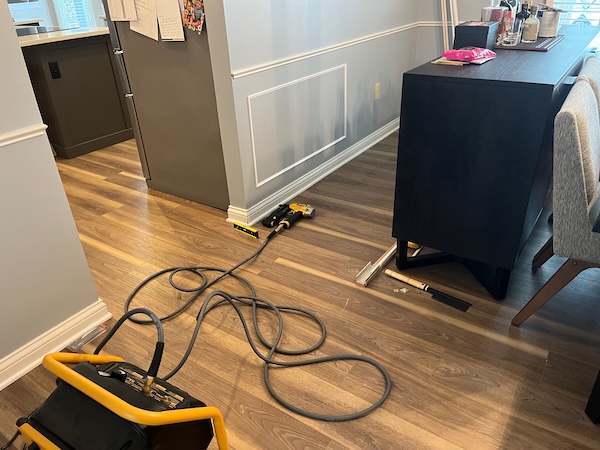
The next step is to use one of my favorite tools, the nail gun. The dog is not a fan of the nail gun or compressor. I cut everything to fit and placed it with a level and a measure of four inches from each side. After a test section, I figured out placing the top piece all the way around as the chair rail was level, was the starting point. I then tacked in the top of the vertical pieces and placed the bottom with the vertical pieces fitting snug. Nail gun makes the whole thing go very fast.
I used some joint compound and watered it down a little bit so it was smooth. I used my fingers to fill in any gaps and holes from the nails. I wiped it down with a wet cloth to ensure not to leave excess filler.
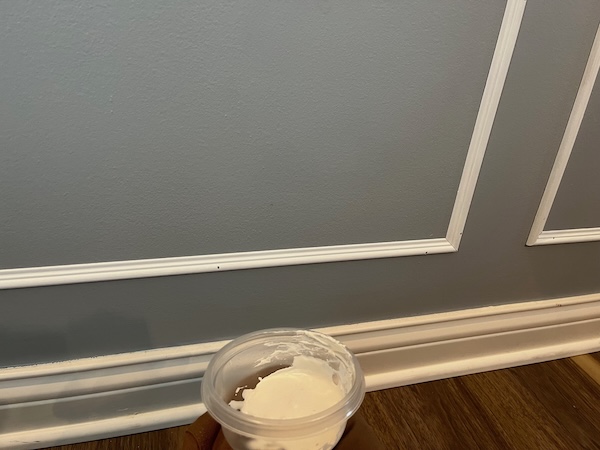
After the filler dries for a day, I hit up everything with some touch up paint to ensure it looks even.
Total Cost:
- 14 Trim Molding x $6 = $84
I already had paint and all of the tools necessary.